Yesterday I ventured to the Hartville Marketplace to watch Ashley, owner of the store "Candles of the Light", in a candle making demonstration. There was a demonstration, free wax tartlet sample and best of all I got to make my own delicious smelling palm wax candle! I have been slightly obsessed with candles for some time now so learning how to make my own is exciting!
 |
| Candle Making Demonstration |
The Hartville Marketplace
If you live anywhere near Summit County you have to check this place out. There are tons of vendors and it is filled with treasures. The indoor part pictured below is open all year round and the summer time calls for endless hours of shopping as the additional vendors set up shop outdoors.
 |
| Hartville, OH |
About Candle Wax
First, Ashley discussed the various types of waxes that are used in candle making: paraffin, soy, palm and beeswax. As you can see, paraffin is NOT a safe choice. Soy and beeswax helps support the American economy.
Paraffin - derived from petroleum
Pros: None
Cons: non-renewable, not natural, produces soot, toxic, carcinogenic, not an odorless wax, not biodegradable
The chemicals used to refine paraffin are acetone, ethylene, acrylic acid, benzene, toluene, and more
Soy Wax - made from soy beans
Pros: natural and renewable, biodegradable

Cons: produces soot, not free of toxins
Hexane may be used to refine soy wax
Palm Wax - made from palm fruit
Pros: natural and renewable, produces minimal soot, toxin and carcinogen free, odorless, no chemicals are used to refine, biodegradable
Cons: Palm wax from Indonesia and Malaysia is contributing to deforestation
Bees wax - bee hive of honey bees
Pros: natural and renewable, clean burn, long lasting, gives off more light, sweet natural fragrance, emits negative ions, toxic free
Cons: more expensive
 |
| Preparing to pour the candle. Dye dropper to the left. Jigger on the right to measure fragrance oil. Small coffee straw for stirring. |
Melting the Wax
At home wax can be melted using the double boiler method. Ashley used a electric hot plate made specifically for melting waxes. She noted that if melting wax at home to make sure that the metal pot used will not be used for preparing food as it is difficult to clean all the wax off completely. So make that pot for melting candles only. Her container had a lip to pour from, which made things much easier.
Dyes and Fragrance
A very small amount of dye is needed to color the candle. Adding or subtracting drops can change the color distinctively. Ashley purchases her scents from a company who specializes in creating fragrance. I asked her about using essential oils and she said this was safe, but make sure to read the label and do some extra research to confirm the safeness of the brand as well as the scent. Some essential oils are safer to use in candles then others. Of course some scents go together better then others so finding your favorites combinations may be trial and error.
Pouring the Candle

The wicks, which can be bought at any craft supply store, were attached to the bottom of the glass jar. I liked the clever popsicle stick like device with the hole through the middle to hold the wick in place. Before this class, I probably would have tried to hold it with my hand like an idiot and risk burning myself! After the wax is completely melted and in a liquid like state have the glass jar ready. It is important to make sure the container is thick enough to deal with the heat of the candle. Ashley heated up the glass jars slightly before pouring in the wax. She said they can be put in the oven on a baking dish for a few minutes until warm.
Next, the wax was poured in and directly after I added 2 small drops of dye from the extractor, and my jigger full of orange sorbet scented oil, I stirred with a small straw both clockwise and counter clock wise. It is important to get all the dye mixed in completely. Some dye will start to settle near the bottom and can easily be missed if not careful. After about 2 minutes of stirring the candle was ready to set. I perused the flea market and came back after about an hour and a half to my beautiful palm wax candle. Palm wax forms a crystallized type texture which I find visually pleasing. Even though my candle was set and ready to take home Ashley said to wait at least three hours before enjoying.
Here is my finished candle!
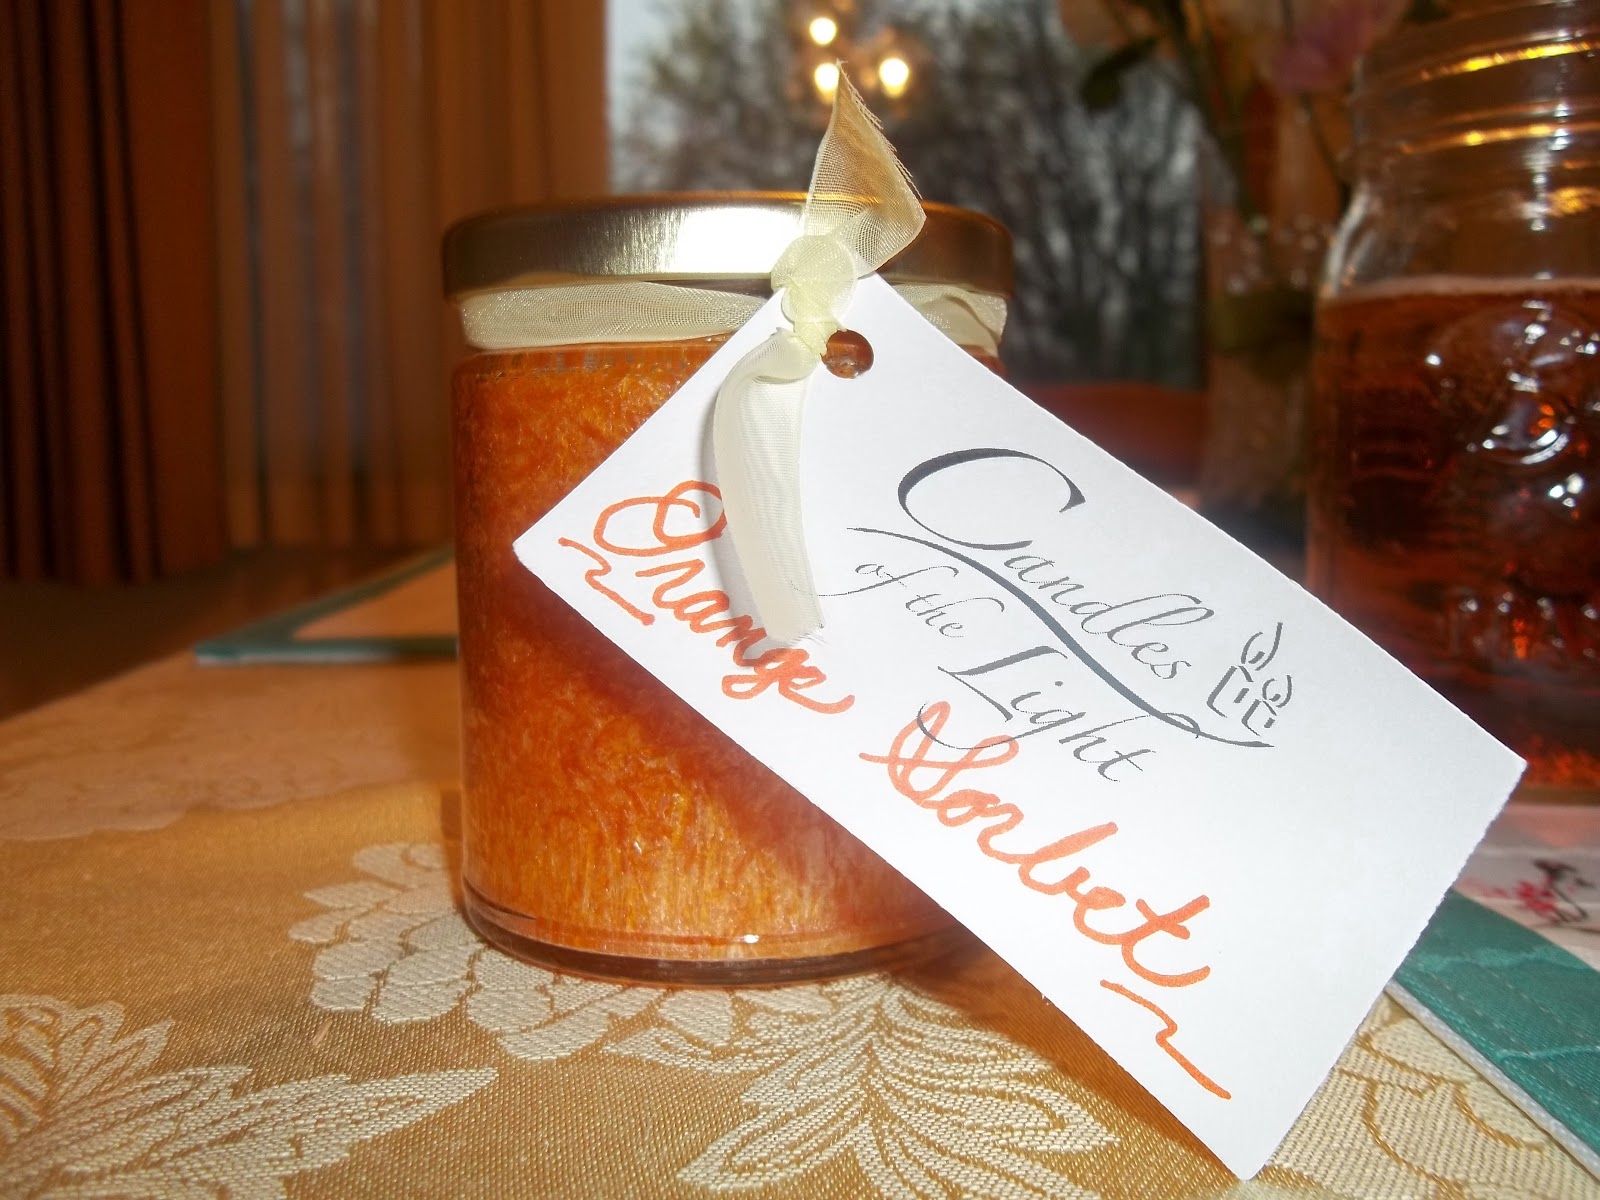 |
Palm Wax Candle |


